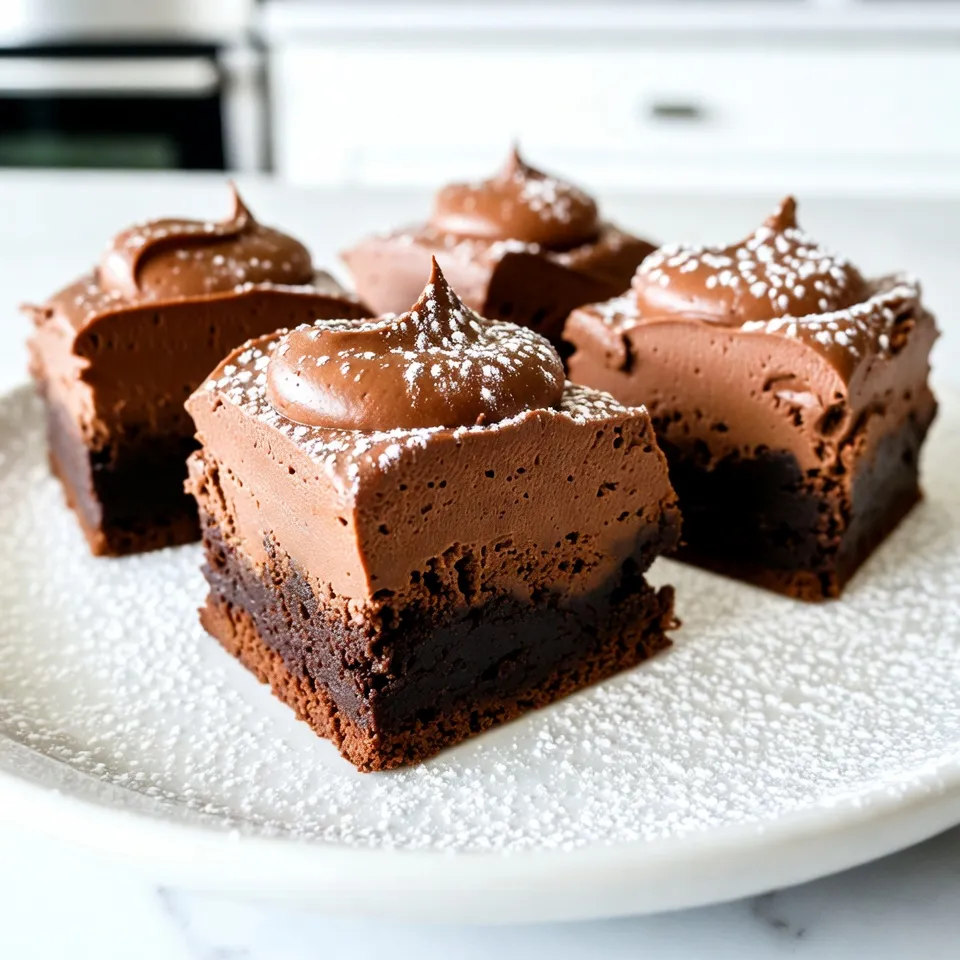
Are you ready to indulge in a treat that’s both easy and delightful? These Decadent Chocolate Mousse Brownies combine rich, fudgy brownies with a smooth chocolate mousse topping. Perfect for any occasion, this recipe is sure to impress your friends and family. Let me guide you through the process, and soon you’ll create a dessert that melts in your mouth. Grab your ingredients, and let’s dive into this delicious journey!
Why I Love This Recipe
- Indulgent Flavor: These brownies combine the rich, decadent taste of chocolate mousse with the fudgy texture of brownies, creating a dessert that is truly irresistible.
- Impressive Presentation: The luscious mousse on top not only adds height but also a beautiful glossy finish, making it a showstopper at any gathering.
- Easy to Make: Despite their gourmet appeal, these brownies are simple to prepare, requiring basic ingredients and straightforward techniques.
- Perfect for Sharing: With generous servings, these brownies are perfect for parties, gatherings, or simply to enjoy with family and friends.
Ingredients
Essential Ingredients for Brownies
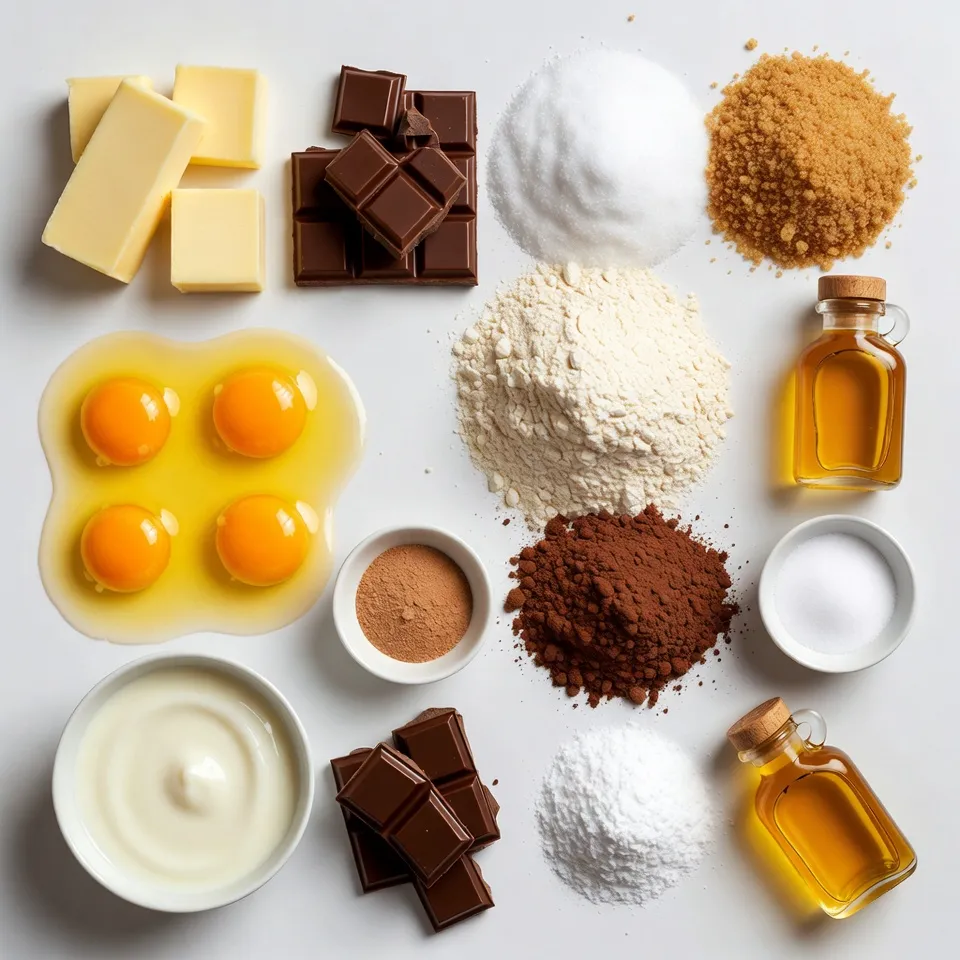
To make your brownies rich and tasty, gather these items:
– 1 cup unsalted butter (2 sticks)
– 8 ounces semi-sweet chocolate, finely chopped
– 1 cup granulated sugar
– 1 cup packed brown sugar
– 4 large eggs, at room temperature
– 1 teaspoon pure vanilla extract
– 1 cup all-purpose flour
– 1/4 cup unsweetened cocoa powder
– 1/2 teaspoon baking powder
– 1/4 teaspoon salt
These ingredients create a dense and fudgy base that pairs perfectly with the mousse.
Key Ingredients for Chocolate Mousse
For a smooth and creamy mousse, you will need:
– 1 cup heavy cream
– 4 ounces dark chocolate, finely chopped (for mousse)
– 2 tablespoons powdered sugar
– 1 teaspoon pure vanilla extract (for mousse)
These ingredients will help you whip up a cloud-like mousse that sits atop the brownies.
Tools and Equipment Needed
You will need some basic tools to make this treat:
– 9×13 inch baking pan
– Parchment paper
– Medium saucepan
– Large mixing bowl
– Whisk
– Electric mixer
– Wire rack
Having the right tools makes the process easy and fun. Enjoy the baking!
Step-by-Step Instructions
Preparing the Brownie Base
Start by preheating your oven to 350°F (175°C). Grease a 9×13 inch baking pan. Line it with parchment paper. Leave some overhang. This helps lift the brownies later.
Making the Brownie Batter
In a medium saucepan, combine 1 cup of unsalted butter and 8 ounces of chopped semi-sweet chocolate. Heat this over low heat. Stir until the mixture is melted and smooth. Let it cool for about 10 minutes. In a large bowl, mix 1 cup of granulated sugar and 1 cup of brown sugar. Add the cooled chocolate mixture. Whisk until mixed well. Add 4 large eggs, one at a time. Make sure each egg is mixed in before adding the next. Finally, stir in 1 teaspoon of pure vanilla extract.
Baking the Brownies
In another bowl, whisk together 1 cup of all-purpose flour, 1/4 cup of cocoa powder, 1/2 teaspoon of baking powder, and 1/4 teaspoon of salt. Gradually fold this dry mixture into the wet batter. Mix gently until combined, but do not overmix. Pour the batter into the lined pan. Spread it evenly. Bake for 25-30 minutes. Use a toothpick to check if they are done. It should come out with a few moist crumbs. Let the brownies cool completely on a wire rack.
Preparing the Chocolate Mousse
In a medium saucepan, heat 1 cup of heavy cream over medium heat. Wait until it barely simmers. Remove it from heat. Add 4 ounces of finely chopped dark chocolate. Stir until smooth. Allow this mixture to cool for about 10 minutes.
Assembling the Brownies with Mousse
Transfer the cooled chocolate mixture to a mixing bowl. Whip it with an electric mixer until fluffy and light. Add 2 tablespoons of powdered sugar and 1 teaspoon of vanilla extract. Keep whipping until soft peaks form. Be careful not to overwhip. Once the brownies are cool, pour the whipped mousse over them. Spread it evenly. Cover with plastic wrap and chill in the fridge for at least 2 hours. This helps the mousse set. When ready, lift the brownies out using the parchment. Cut them into squares or rectangles. Enjoy them chilled or at room temperature for a sweet treat!
Tips & Tricks
Achieving the Perfect Brownie Texture
To get the best brownie texture, start by mixing your wet and dry ingredients carefully. Make sure your butter and chocolate blend smoothly. Mix the sugars and eggs well. This helps the brownies rise and stay soft. When adding the flour and cocoa, fold gently. Overmixing can lead to tough brownies. Bake them until a toothpick shows a few moist crumbs. This means they are fudgy and not dry.
Whipping the Mousse to the Right Consistency
Whipping the mousse is key to getting it light and fluffy. First, heat the cream until it simmers. Then, add the chopped dark chocolate and stir until smooth. Let it cool slightly before whipping. Use an electric mixer for the best results. Beat until soft peaks form, but stop before it gets too thick. If you overwhip, the mousse can become grainy. It should be airy and smooth when done.
Presentation Tips for Serving
To make your brownies look extra special, think about how you serve them. You can sprinkle grated chocolate or cocoa powder on top of the mousse. This adds a nice touch. Fresh berries or mint leaves can also brighten the dish. Use a sharp knife to cut the brownies for neat squares. Serve them chilled or at room temp for the best taste.
Pro Tips
- Use Quality Chocolate: The flavor of your brownies and mousse largely depends on the chocolate you choose. Opt for high-quality semi-sweet and dark chocolate for the best taste experience.
- Room Temperature Eggs: Using eggs at room temperature helps them incorporate better into the batter, resulting in a smoother texture for your brownies.
- Don’t Overmix: When combining the dry ingredients with the wet, mix just until incorporated. Overmixing can lead to dense brownies instead of the desired fudgy texture.
- Chill to Set: Allowing the mousse to chill for at least 2 hours is crucial for it to set properly. This ensures a light and airy texture when you serve it atop the brownies.
Variations
Adding Flavors to Brownies
You can make your brownies even better with added flavors. Try adding a dash of espresso powder. This will enhance the chocolate taste. You can also mix in orange zest. It gives a bright, fresh twist. If you like nuts, add chopped walnuts or pecans. They add a nice crunch. For a minty flavor, use mint extract instead of vanilla. Just a little will make a big difference.
Alternative Toppings and Mix-Ins
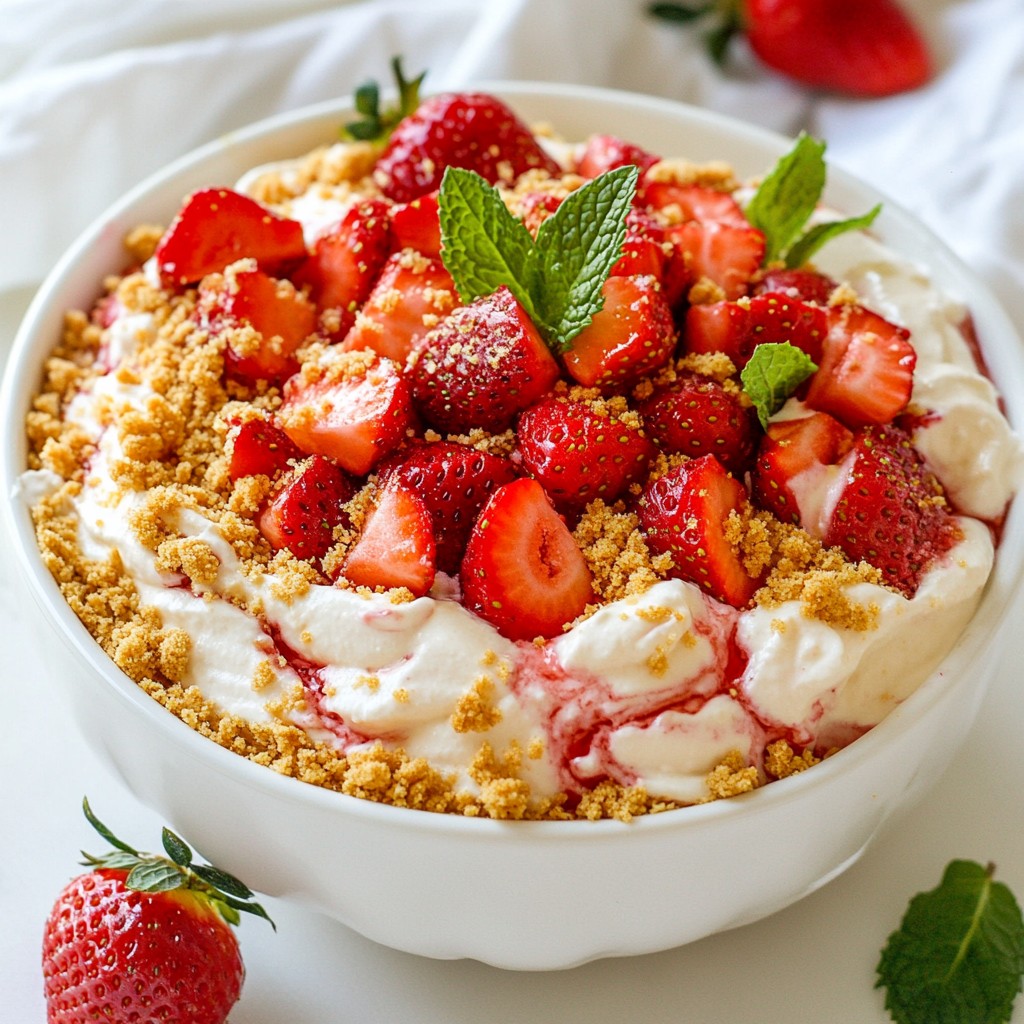
Toppings can change the whole look and taste. Instead of mousse, try whipped cream. It will lighten the dessert. You can also add a drizzle of caramel sauce. It adds sweetness and a lovely shine. For a fruity touch, top with fresh berries. Strawberries or raspberries work great. If you want a fun crunch, sprinkle crushed cookie crumbs on top. They add texture and flavor.
Dietary Modifications (Gluten-Free, Vegan)
Making brownies gluten-free is easy. Just swap all-purpose flour for almond flour or gluten-free flour. For a vegan option, replace eggs with flax eggs. To make a flax egg, mix one tablespoon of flaxseed meal with three tablespoons of water. Let it sit for a few minutes. Use dairy-free chocolate and coconut cream for the mousse. These swaps keep the taste rich and creamy while being friendly to different diets.
Storage Info
Best Practices for Storing Brownies
To keep your brownies fresh, store them in an airtight container. This helps keep them moist. Place parchment paper between layers to avoid sticking. Keep them at room temperature for up to four days. If you want to keep them longer, refrigeration is an option. Just make sure to wrap them well to avoid drying out.
How to Store Leftover Mousse
For any leftover mousse, transfer it to a clean, airtight container. Store it in the fridge for up to three days. If you notice any separation, gently stir it before serving. Always cover the container tightly to keep it from absorbing other food odors.
Freezing Instructions for Long-term Storage
You can freeze brownies and mousse for later enjoyment. To freeze brownies, wrap each piece in plastic wrap, then place them in a freezer bag. They can last for up to three months. For mousse, spoon it into individual servings in freezer-safe containers. It can also freeze for up to three months. When you’re ready to enjoy, thaw in the fridge overnight.
FAQs
Can I use different types of chocolate?
Yes, you can. I often mix semi-sweet and dark chocolate for depth. You can also try milk chocolate for a sweeter treat. Just remember, the type of chocolate affects the taste. Dark chocolate gives a rich, bold flavor. Milk chocolate offers a creamier and sweeter bite. Adjust the sugar if you change the chocolate type.
How do I know when my brownies are done baking?
Check for moist crumbs on a toothpick. Insert it into the center of the brownies. If it comes out with a few moist crumbs, they are ready. Remember, they will continue to cook after you take them out. Avoid overbaking for the best texture. Brownies should be soft and fudgy inside.
What should I do if my chocolate mousse doesn’t set?
If your mousse does not set, check a few things. First, make sure the cream was whipped enough. It needs to form soft peaks. If it’s too runny, try chilling it longer. You can also gently fold in more whipped cream. This will help give it structure. Just be gentle to keep it airy.
Can I make this recipe ahead of time?
Yes, you can. These brownies are great for making ahead. You can prepare them a day or two in advance. Just store them in the fridge once assembled. The mousse will taste even better after chilling. Just remember to cover them well with plastic wrap. This keeps them fresh and tasty.
We explored the key ingredients and steps to create delicious brownies with chocolate mousse. I shared tips to ensure perfect textures and suggested variations to suit different diets. Remember, with the right techniques, you can impress anyone with this dessert. Use these recipes and tips to make something special! Enjoy experimenting and sharing your tasty creations with loved ones. Happy bakin